Flies & Fly Tying
Fly Tying Tools Explained
Open a tying kit and you get a dozen metal objects and no explanation. Here is what each one is for.
A beginner tying kit arrives as a tray of unlabeled metal objects. Most are obvious once explained and two of them matter far more than the rest. This page is the reference; the best tying kits is which kit to buy.
The short list
| # | Pick | Best for | Score | Price |
|---|---|---|---|---|
| 1 | Orvis Fly-Tying KitUp to 160 flies · 16 patterns taughtBest Overall | A kit with all of these tools plus instruction | 8.4 | Check price on Amazon |
| 2 | WETFLY Deluxe Fly Tying Vise & Tools Kit24-piece · Super AA viseBest Value | 24 pieces including a C-clamp vise | 7.8 | Check price on Amazon |

1. Best Overall
Orvis Fly-Tying Kit
The tying kit that teaches you to tie, rather than the one that sells you a box of feathers.
| Spec | Value |
|---|---|
| Materials for | Up to 160 flies |
| Instruction | Video covering 16 patterns, beginner to advanced |
Almost every beginner fly-tying kit fails the same way: it contains tools and materials and no idea what to do with them. The Orvis kit includes instruction covering 16 patterns from beginner to advanced, and materials for up to 160 flies.
That ratio is the thing to notice. Materials for 160 flies across 16 patterns means ten of each, and ten attempts is roughly how many it takes before a pattern starts looking like the picture. A kit with materials for 30 flies across 20 patterns teaches you to tie 20 bad flies.
The vise in any kit at this level is a starter vise, and if you stick with tying you will replace it. That is fine — the vise is the cheapest part of the hobby to upgrade later.
What we like
- The instruction is the product — tools without a curriculum is how tying kits end up in a cupboard
- Materials for up to 160 flies means you can tie the same pattern ten times, which is how you actually learn one
- Orvis materials are the ones the videos assume, so nothing is substituted
What you give up
- More expensive than the budget tool kits
- A kit's vise is always the first thing a committed tyer replaces
| Criterion | Score / 10 |
|---|---|
| Instruction | 10 |
| Tool quality | 7 |
| Material quality | 8 |
| Materials included | 9 |
| Value | 8 |
| Overall | 8.4 |
2. Best Value
WETFLY Deluxe Fly Tying Vise & Tools Kit
The best materials in a budget kit — natural hackle and marabou — with instruction stuck on a disc.
| Spec | Value |
|---|---|
| Pieces | 24 |
| Vise | Super AA with C-clamp |
| Instruction | DVD included |
| Materials | Natural hackle feathers, marabou, dubbing |
What separates a cheap tying kit from a usable one is usually the materials, not the tools. Dry, brittle synthetic hackle will not wrap without snapping, and a beginner cannot tell the difference between bad materials and their own bad technique. The WETFLY Deluxe kit ships with natural hackle feathers, real marabou and quality dubbing.
The kit is 24 pieces built around a Super AA vise with a C-clamp, which means it mounts firmly to a kitchen table rather than wobbling on a pedestal base.
The instruction is a DVD, which in 2026 is a real limitation. If you plan to learn from online tutorials anyway, that matters less. If you were counting on the included instruction, the Orvis kit's video is the better route.
What we like
- Natural hackle and marabou rather than the brittle synthetics that ship with most cheap kits — this is the difference between a fly that breathes and one that does not
- A C-clamp vise mounts solidly to a real table
- 24 pieces covers the tools you actually need rather than padding the count
What you give up
- DVD-based instruction assumes you own a DVD drive
- Material quantities are modest compared with the Orvis kit
| Criterion | Score / 10 |
|---|---|
| Instruction | 6 |
| Tool quality | 8 |
| Material quality | 9 |
| Materials included | 7 |
| Value | 9 |
| Overall | 7.8 |
The complete tool table
| Tool | What it does | Quality matters? | Buy better when |
|---|---|---|---|
| Vise | Clamps the hook so both your hands are free | Critical | Immediately, if the jaws slip at all |
| Bobbin | Holds the thread spool and lets you tension thread with one hand | High | The tube frays your thread |
| Scissors | Cuts thread, feather, hair, synthetics | High | They chew instead of cutting |
| Whip finisher | Ties the final knot at the fly's head | Low | Never, really — or learn to finish by hand |
| Hackle pliers | Grips the tip of a feather so you can wind it | Medium | They cut or drop the stem |
| Bodkin | A needle in a handle: picks dubbing, applies head cement | None | Never. A sewing needle in a cork works |
| Dubbing twister | Spins a loop of thread to trap fur for a body | Low | You start tying a lot of dubbed bodies |
| Hair stacker | Evens the tips of a bunch of hair before tying it in | Low | You tie many elk or deer hair flies |
| Head cement + applicator | Seals the thread at the head so the fly survives fish | None | Never |
The vise, in more detail
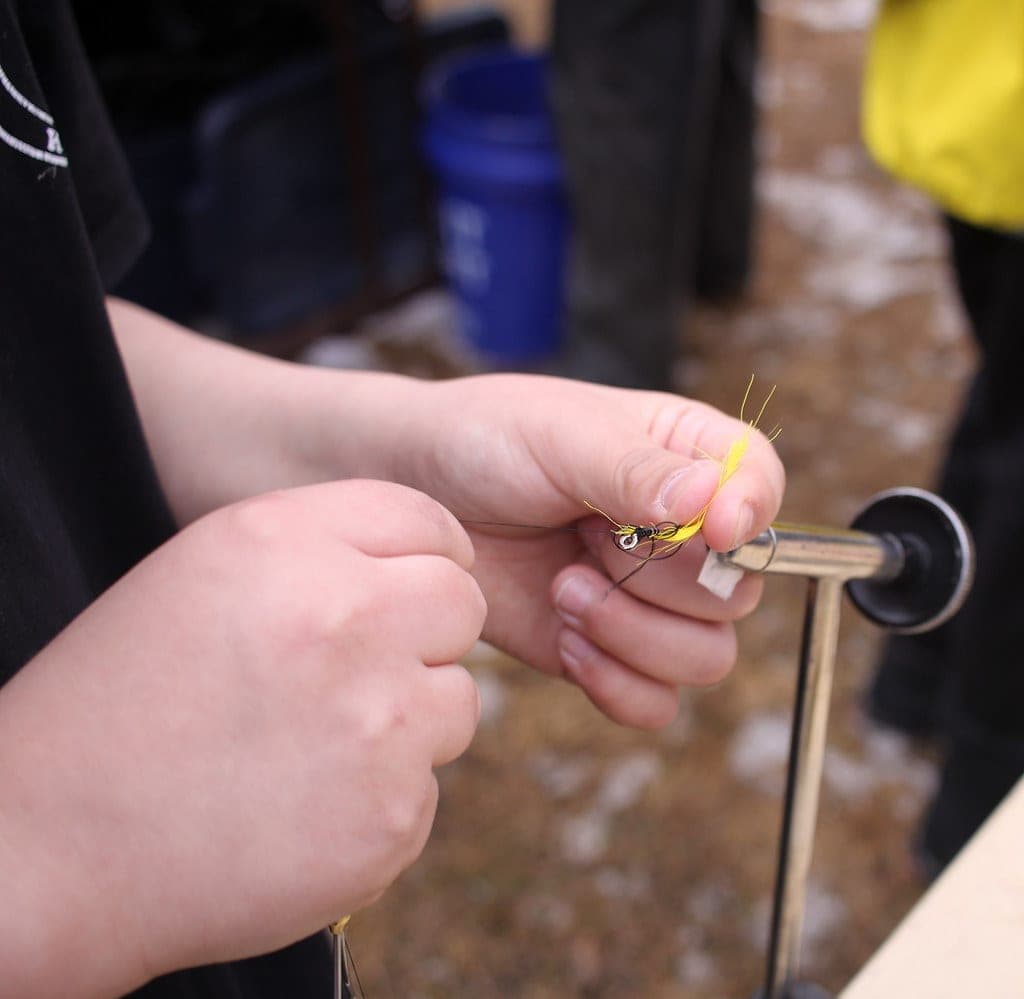
The vise is the tool worth understanding before you buy, because it is the one that decides whether tying is learnable.
- C-clamp or pedestal. A C-clamp screws to a table edge and is rock solid; a pedestal sits on a weighted base and travels. Clamp for a dedicated bench, pedestal for a kitchen table you have to clear.
- Rotary or fixed. A rotary vise spins the hook so you can wind material around it and inspect the far side. Genuinely useful, not necessary to learn on.
- Jaw range. Check it covers the hook sizes you will actually tie — roughly 8 to 18 for trout flies.
- The test that matters. Clamp a hook, then push the point sideways with your thumbnail. If it moves, you cannot tie on it.
Materials, briefly
| Material | Used for | Note for beginners |
|---|---|---|
| Thread | Everything. It holds the fly together | A mid-weight thread like 8/0 is the most forgiving starting point |
| Hackle | Dry fly collars, Woolly Bugger bodies | Natural hackle is easier to wind than cheap synthetic substitutes |
| Marabou | Woolly Bugger tails, soft movement in water | Very forgiving — a good first material |
| Dubbing | Fuzzy bodies on nymphs | Use less than you think. Over-dubbing is the classic beginner mistake |
| Elk / deer hair | Caddis wings, hopper bodies | Needs a hair stacker to look right; hardest of these to learn |
| Wire and tinsel | Ribbing, flash, segmentation | Cheap, durable, makes a nymph look finished |
| Beads | Weight at the head of a nymph | Buy the size that matches your hooks or they will not pass the bend |
Setting up somewhere to tie
- Light matters more than space. A bright directed lamp changes tying more than any tool upgrade.
- A light-colored surface behind the vise makes dark materials visible.
- Something to catch waste. Clippings go everywhere; a bin bag taped to the table edge saves arguments.
- A shallow tray for hooks and beads, because both roll and both are unfindable on a carpet.
When the bench is ready, the first five flies to tie is the order to learn them in.
Questions people actually ask
What tools do I need to start tying flies?
A vise, a bobbin, scissors, a whip finisher, hackle pliers and a bodkin. Every beginner kit includes all six. The vise and the scissors are the two where quality genuinely changes the experience.
What does a whip finisher do?
It ties the final knot at the fly's head so the thread does not unravel. It looks baffling and takes about ten minutes to learn from a video — and you can finish by hand with two half hitches if you never get on with it.
Do I need a rotary vise as a beginner?
No. A rotary vise is genuinely useful for winding materials and checking the far side of a fly, but a solid fixed vise that does not slip is more important than rotation at any price.
What is a bodkin for?
Picking out dubbing to make a nymph look fuzzy, teasing out trapped fibers, and applying head cement. It is a needle in a handle, and a sewing needle pushed into a wine cork does the same job.
Where these figures come from
Read next
Best Tying Kit
Best Fly Tying Kits for Beginners
Fly tying kits ranked on vise quality and instruction — plus the honest answer on whether tying saves money.
Flies & Fly Tying
The First Five Flies to Tie
Five flies in a deliberate order, each teaching one new tying skill. All five catch fish.

Best Trout Flies
Best Trout Flies for Beginners
Six patterns catch most trout. The assortments that cover them, and why a 100-fly kit is the wrong first buy.
Best Tool Kit
Best Fly Fishing Tool Kits
Nippers, forceps and zinger kits compared — and the three tools that are genuinely worth buying properly.