Flies & Fly Tying
The First Five Flies to Tie
In this order, each one teaching a single new technique — and every one of them catches trout while you are still bad at it.
The order matters more than the patterns. Each fly below introduces one new technique on top of the last, so nothing you meet is more than one step past what you can already do.
Tie six of each before moving on. The sixth is always dramatically better than the first, and the confidence from that is what carries you to the next pattern.
The short list
| # | Pick | Best for | Score | Price |
|---|---|---|---|---|
| 1 | Orvis Fly-Tying KitUp to 160 flies · 16 patterns taughtBest Overall | Covers the materials all five of these need | 8.4 | Check price on Amazon |
| 2 | Ninnifly Fly Tying Kit for Beginners100+ pieces · 60 hooksBest Starter Kit | Hooks and video tutorials for exactly this progression | 7.2 | Check price on Amazon |
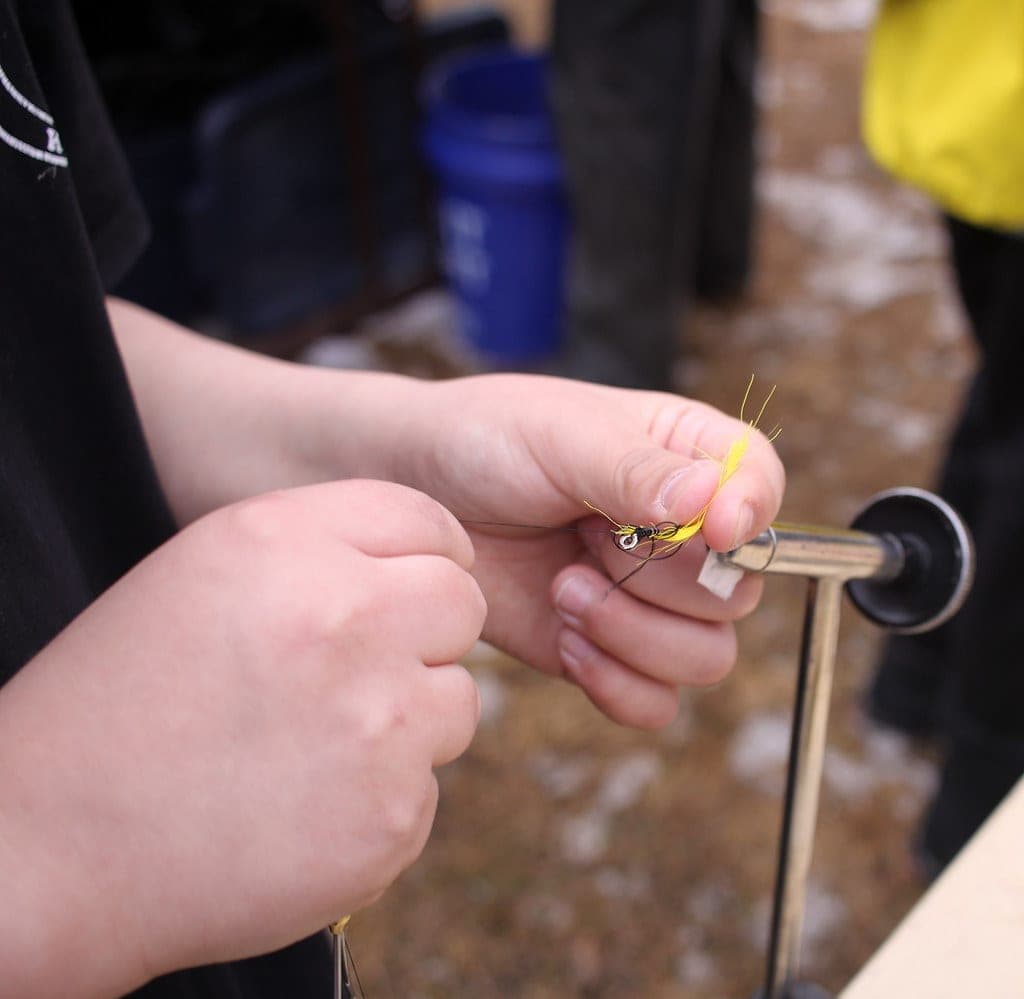
1. Best Overall
Orvis Fly-Tying Kit
The tying kit that teaches you to tie, rather than the one that sells you a box of feathers.
| Spec | Value |
|---|---|
| Materials for | Up to 160 flies |
| Instruction | Video covering 16 patterns, beginner to advanced |
Almost every beginner fly-tying kit fails the same way: it contains tools and materials and no idea what to do with them. The Orvis kit includes instruction covering 16 patterns from beginner to advanced, and materials for up to 160 flies.
That ratio is the thing to notice. Materials for 160 flies across 16 patterns means ten of each, and ten attempts is roughly how many it takes before a pattern starts looking like the picture. A kit with materials for 30 flies across 20 patterns teaches you to tie 20 bad flies.
The vise in any kit at this level is a starter vise, and if you stick with tying you will replace it. That is fine — the vise is the cheapest part of the hobby to upgrade later.
What we like
- The instruction is the product — tools without a curriculum is how tying kits end up in a cupboard
- Materials for up to 160 flies means you can tie the same pattern ten times, which is how you actually learn one
- Orvis materials are the ones the videos assume, so nothing is substituted
What you give up
- More expensive than the budget tool kits
- A kit's vise is always the first thing a committed tyer replaces
| Criterion | Score / 10 |
|---|---|
| Instruction | 10 |
| Tool quality | 7 |
| Material quality | 8 |
| Materials included | 9 |
| Value | 8 |
| Overall | 8.4 |
2. Best Starter Kit
Ninnifly Fly Tying Kit for Beginners
The modern instruction format on a budget kit, with material quality we could not verify.
| Spec | Value |
|---|---|
| Pieces | 100+ |
| Hooks | 60 included |
| Instruction | QR-code video tutorials |
| Case | Travel case included |
The Ninnifly kit's one clear advantage is how it teaches: QR codes that open video tutorials, rather than a DVD. That is the right call, and for a self-taught beginner it is worth more than most of the component list.
It includes 100-plus pieces and 60 hooks in a travel case. Having hooks in the box matters — a kit without hooks is a kit you cannot use until a second order arrives.
We will be straight about the limit of what we know: published information on the quality of the feathers and dubbing is thin, and with tying materials the quality is the product. We have no basis for telling you it is good or that it is bad, so we are not going to. If material quality is your priority and the budget stretches, the WETFLY kit publishes what it uses.
What we like
- QR-code video tutorials are the right instruction format — you watch on the phone already on your desk
- 60 hooks included, so you are not buying hooks separately on day one
- Travel case means the kit packs away rather than colonizing a table
What you give up
- Published detail on material quality is thin, so we cannot tell you whether the hackle is usable
- A 100+ piece count includes a lot of small items of unclear value
| Criterion | Score / 10 |
|---|---|
| Instruction | 9 |
| Tool quality | 6 |
| Material quality | 5 |
| Materials included | 8 |
| Value | 8 |
| Overall | 7.2 |
1. Woolly Bugger — thread control and winding hackle
- Clamp a size 10 streamer hook and lay a smooth thread base from the eye to the bend.
- Tie in a marabou tail about as long as the hook shank.
- Tie in a hackle feather by the tip at the back, plus a length of wire if you want ribbing.
- Dub or wrap chenille forward to just behind the eye.
- Wind the hackle forward in open spirals, tie it off, and counter-wrap the wire over it to lock it down.
- Whip finish behind the eye and add a drop of head cement.
Teaches: thread tension, tying materials in, winding a hackle. Forgives: almost everything. A lumpy Woolly Bugger catches fish in cold and high water all season.
2. Zebra Midge — proportion on a small hook
- Slide a small bead onto a size 18 hook, bead hole first, and seat it at the eye.
- Start thread behind the bead and wrap a smooth, slim body down to the bend and back.
- Tie in fine silver wire and rib it forward in even turns.
- Tie off the wire behind the bead, build a tiny thread collar, whip finish.
Teaches: working small, keeping bodies slim, even ribbing. Why now: it is the simplest possible fly, so the only thing you can get wrong is proportion — which is exactly the lesson.
3. Hare's Ear Nymph — dubbing
- Thread base on a size 14 nymph hook; tie in a short tail of guard hairs.
- Tie in fine gold wire for ribbing.
- Touch a little wax to the thread, apply a thin noodle of hare's ear dubbing, and wind a tapered body.
- Rib forward with the wire in even turns and tie off.
- Dub a slightly fatter thorax, whip finish, then pick the thorax out with a bodkin so it looks scruffy.
Teaches: dubbing, taper, and the restraint to use less material than instinct suggests. The universal beginner error: too much dubbing. Half what you think.
4. Elk Hair Caddis — handling hair
- Thread base on a size 16 dry hook; tie in a hackle at the back.
- Dub a thin body forward, then palmer the hackle over it in open turns and tie off.
- Cut a small bunch of elk hair, even the tips in a hair stacker.
- Measure it so the tips reach just past the hook bend, then tie it in at the eye with firm pinching wraps.
- Trim the butts to a short head, whip finish, cement.
Teaches: measuring and controlling hair, pinch wraps, trimming a head. Harder because: hair spins around the hook if the wraps are loose and flares if they are too tight. This is the pattern where you learn thread pressure properly.
5. Parachute Adams — the post
- Thread base on a size 16 dry hook; tie in a split tail of hackle fibers.
- Tie in a white calf hair or synthetic post upright at the front third and build a thread base around it to stand it up.
- Dub a slim gray body back to the tail and forward again.
- Tie in a grizzly hackle at the base of the post and wind it horizontally around the post, three or four turns.
- Tie the hackle off against the hook, whip finish under the hackle without trapping fibers, cement sparingly.
Teaches: everything at once — proportion, a standing post, a horizontal hackle, and finishing in a confined space. Why last: it is the fly most likely to make a beginner quit, and the one you will tie most once you can.
After these five
You can tie, in some form, most trout flies in existence. Everything else is a variation: a different dubbing, a bead instead of lead, a foam body instead of hair.
The natural next step is to tie the patterns your own water needs — look at the regional starter boxes and tie a dozen of whichever pattern you lose most. For what the finished flies go into, see best fly boxes.
Questions people actually ask
What is the easiest fly to tie for a beginner?
A Woolly Bugger. It teaches thread control, tying in materials and winding hackle, and it tolerates untidy work — a lumpy one genuinely catches fish in cold or high water.
How many of each fly should I tie before moving on?
Six. The difference between your first and sixth attempt at any pattern is dramatic, and that improvement is what gives you the confidence to try the next technique.
Why is the Parachute Adams last?
Because the parachute post combines proportion, a standing material and a horizontally wound hackle finished in a very small space. Starting there is the most common reason beginners abandon tying in one evening.
Will flies I tie myself actually catch fish?
Yes, and sooner than you expect. Trout are far less critical of a scruffy fly than you are, particularly with nymphs and streamers. Your first Woolly Bugger will catch fish; your first parachute dry might take a few attempts.
Where these figures come from
Read next

Flies & Fly Tying
Fly Tying Tools Explained
What every fly tying tool does, which ones matter, and where buying cheap genuinely hurts.
Best Tying Kit
Best Fly Tying Kits for Beginners
Fly tying kits ranked on vise quality and instruction — plus the honest answer on whether tying saves money.

Best Trout Flies
Best Trout Flies for Beginners
Six patterns catch most trout. The assortments that cover them, and why a 100-fly kit is the wrong first buy.
Best Fly Box
Best Fly Boxes
What to look for in a fly box, and the slim foam box that holds a first trout selection properly.